
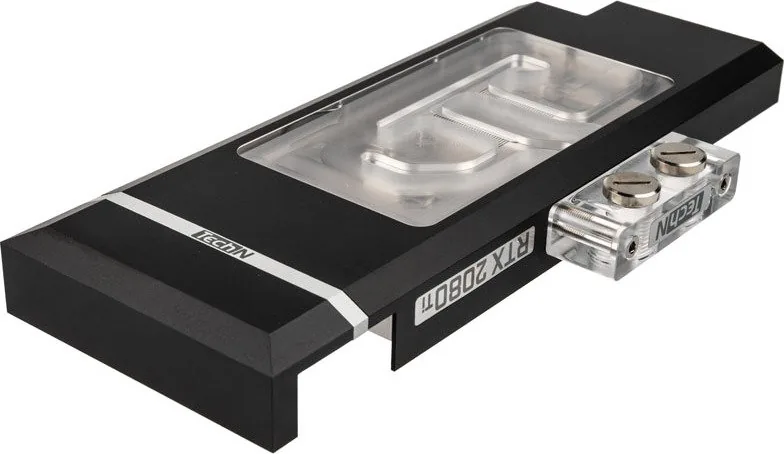
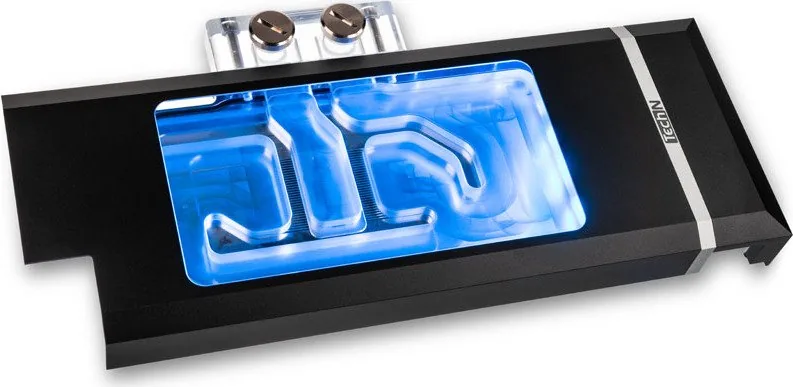
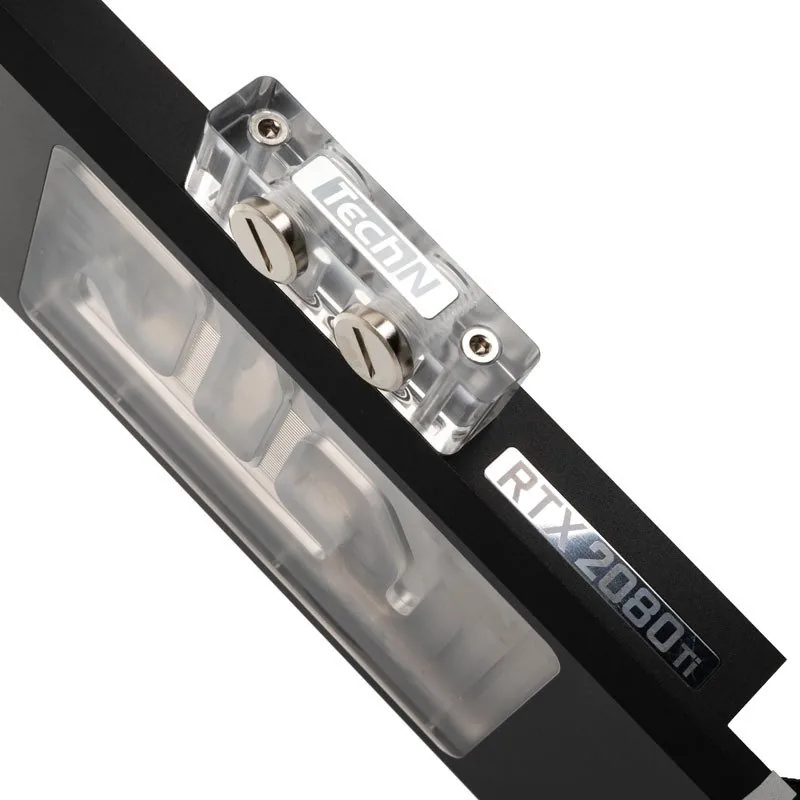
TechN RTX 2080 Ti Manwal
Manual PDF · 2 Pahina
Tagalog



Mabilis na pagsusuri
Maling sagot, subukan muli.
Makipag-chat sa iyong TechN RTX 2080 Ti manual gamit ang AI
Makakuha ng agarang sagot mula sa AI batay sa iyong TechN RTX 2080 Ti manual
Magtanong ng kahit ano tungkol sa TechN RTX 2080 Ti. Ang mga sagot ay mula sa manual na ito, kasama ang mga pahinang pinagbatayan.
Magtanong Tanong
Inirerekomenda mo ba ang RTX 2080 Ti?
Oo HindiMadalas Na Tanong
Oo, ang pagtanggal ng orihinal na stock cooler at pag-disassemble ng unit ay karaniwang nabubuwag ang warranty ng manufacturer ng graphics card. Karagdagan dito, ang TechN leak warranty ay nabubuwag kapag binuksan ang cooler.
Nakakatulong ba ang sagot na ito?
Kailangan mo ng Phillips screwdriver, malambot na paper towel, at isopropanol para sa paglilinis. Kailangan mo ring magkaroon ng compatible na tubing at pump reservoir para sa iyong liquid cooling loop na handa bago simulan.
Nakakatulong ba ang sagot na ito?
I-plug ang 4-pin connector sa motherboard RGB_HEADER. Siguraduhing tumuturo ang arrow sa plug sa +12V line. Ang mali na polarity ay maaaring makasira sa iyong motherboard o LED strip.
Nakakatulong ba ang sagot na ito?
Oo, napakatawag na gawin ang 24-hour leak test na may PC na naka-off upang siguraduhing walang mga leak bago takbo ang sistema sa ilalim ng load.
Nakakatulong ba ang sagot na ito?
Laging gumamit ng coolant na naglalaman ng anti-corrosion additives upang protektahan ang copper at aluminum components sa loob ng water block mula sa corrosion at degradation sa paglipas ng panahon.
Nakakatulong ba ang sagot na ito?
Mga Pakinabang at Kahinaan
Mga Kalamangan

- Precision engineering na ginawa sa Berlin na may leak-tested quality assurance
- Epektibong thermal management para sa RTX 2080 Ti sa ilalim ng heavy loads
- Integrated RGB LED na may madaling 4-pin motherboard connection
- Kumpletong kit na kasama ang thermal paste, pads, screws, at fittings
Mga Kahinaan

- Ang installation ay nabubuwag ang manufacturer's leak warranty agad
- Risk na masira ang chip dies kung ang mga screw ay sobrang tight
- Nangangailangan ng pagtanggal ng stock cooler na maaaring magbubuwag ng card warranty
- Complex assembly process na nangangailangan ng specific tools at careful handling
Produkto Spesipikasyon
Uri
GPU
Materyal
Tanso (gintong-plated), Aluminio, PMMA
Kagkapatid
NVIDIA GeForce RTX 2080 Ti Founders Edition
Mga Koneksyon
G1/4"
Ilaw
LED (RGB)
Dimensyon (LxWxH)
26.50x12.50x2.59 cm
Timbang
1.06 kg
Mga Katangian
Converter ng bolyta na pinalamig ng GPU
Produkto Paglalarawan
TechN RTX 2080 Ti Itim: Pangunahing Pagpapalaki sa Water Cooling
Ang TechN RTX 2080 Ti itim ay kumakatawan sa tuktok ng mga solusyon sa custom na liquid cooling para sa mga high-performance na graphics cards. Dinisenyo sa Berlin, Alemanya, ang water block na ito ay nagbabago ng iyong stock air cooler sa isang tahimik at epektibong system na nakakapagtrabaho sa extreme thermal loads. Ang sleek na itim na tapos ay hindi lamang tumutugma sa premium builds kundi nagtitiyak na ang iyong hardware ay nananatiling visually striking habang gumagana sa mas mababang temperatura.
Ang pag-install ay nangangailangan ng precision at pag-aaruga. Ang proseso ay nagsisimula sa pagtanggal ng orihinal na air cooler at backplate mula sa graphics card. Kailangang linisin ng mabuti ng mga user ang GPU die at memory modules gamit ang isopropanol at malambot na paper towel upang alisin ang lahat ng lumang thermal paste. Isang eksaktong 3mm drop ng high-quality na thermal paste ay inilalagay sa GPU bago idikit ang water block. Kasama sa kit ang kinakailangang hardware tulad ng M3 screws, washers, at pre-installed na thermal pads na inaayos ayon sa detalyadong diagrams.
Isang kritikal na aspeto ng produktong ito ay ang integrasyon nito sa RGB lighting. Ang unit ay may dedicated na 4-pin connector na direktang pumapasok sa RGB header ng motherboard. Mahalagang i-align ang arrow sa connector sa +12V line upang maiwasan ang pinsala sa motherboard o LED components. Kapag nakasamantala, ang tubing ay konektado sa dalawang G1/4-inch fittings, na nag-iwan ng ibang ports na selyado ng mga provided na plugs.
Ang mga safety warnings ay mahalaga habang nag-iinstall. Ang sobrang pag-tightening ng screws ay maaaring mag-crack ng chip dies, kaya dapat ma-manage ang torque nang mabuti. Karagdagan dito, ang pag-disassemble ng cooler ay nagbubuwag sa leak warranty, kaya dapat mag-ingat ang mga user. Isang 24-hour leak test na may PC na naka-off ay napakatawag bago ang buong operasyon. Gumamit lamang ng coolant na naglalaman ng anti-corrosion additives upang protektahan ang internal channels. Ang manual na ito ay gabayin ka sa bawat hakbang, siguraduhing secure at epektibo ang upgrade para sa iyong gaming o workstation rig.
Hanapin ang 67,706 Mga manual online


I-type ang Brand o Model